Learn how to make DIY lotion bars that will thoroughly condition and soften your skin. Using only natural ingredients, this homemade lotion bar recipe is quick and easy to make and will blow your regular body lotion out of the water!
Homemade lotion bars are super simple to make and work for every skin type, even sensitive skin. Your dry skin will be completely moisturized by only simple ingredients. In my house, we rarely use regular lotion anymore because it’s full of binders and water. Making your own lotion bars provides your skin with pure, unadulterated oils that thoroughly hydrate your skin. Not to mention, this is a really easy recipe to make!
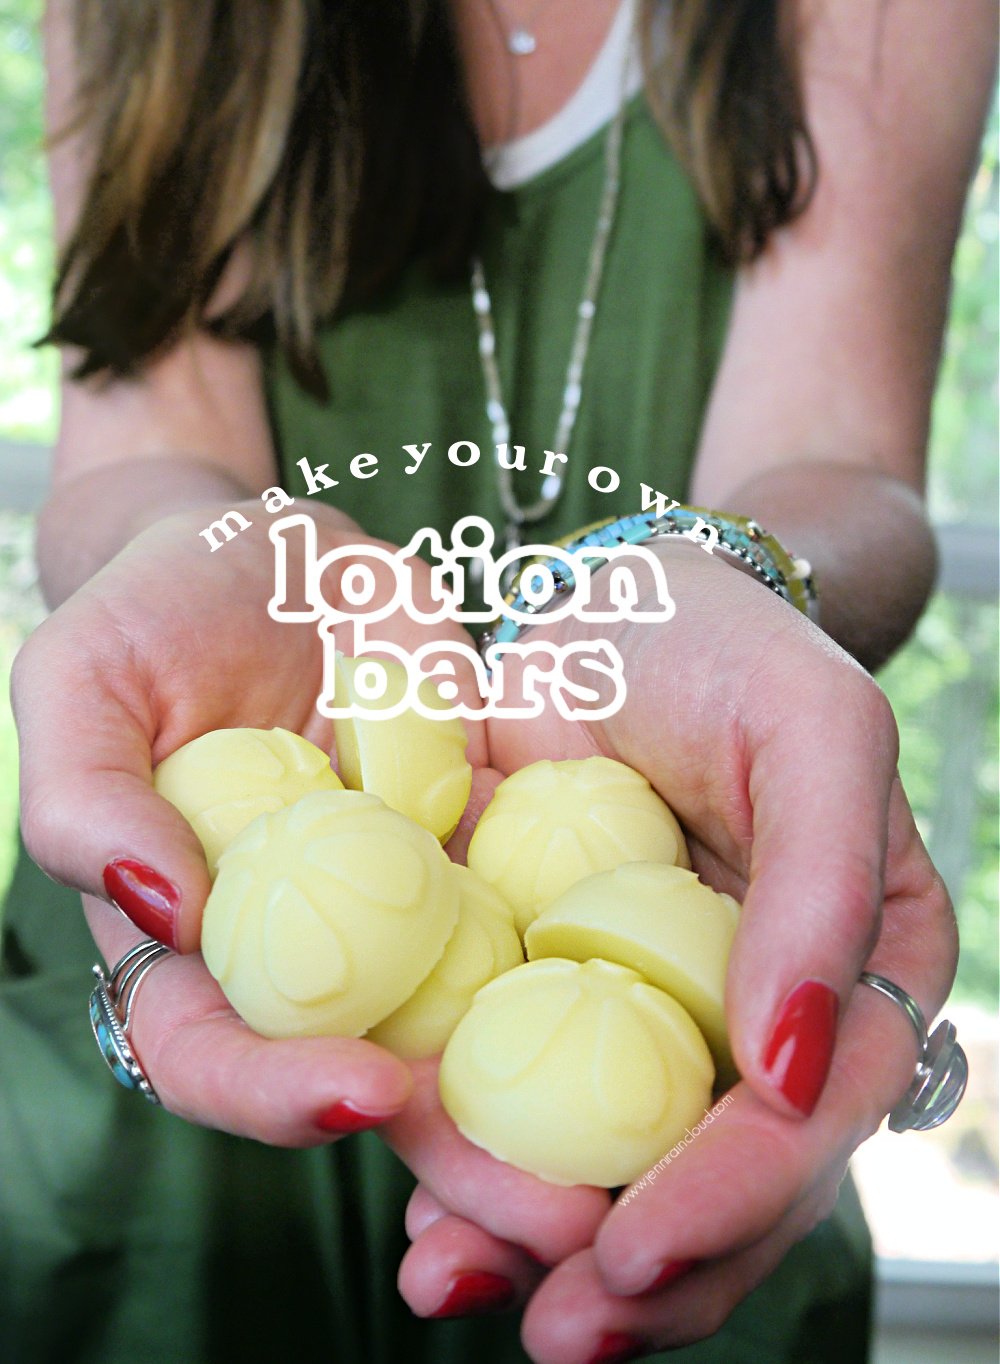
What are Lotion Bars?
Lotion bars are basically a solid, hard bar that contain a large amount of beeswax, carrier oils and body butters. Think lip balm consistency. Basically, a lotion bar is like a lip balm for your entire body!
Lotion bars are meant to replace traditional lotions. Lotion bars are oil based and don’t contain water. They are able to thoroughly nourish the skin and can be used all year around. I particularly like to have them on hand for after sun care.
DIY lotion bars can help soothe skin conditions like eczema and psoriasis. They can heal dry skin and soften dry patches. They leave a protective layer on the skin which helps seal in moisture.
Using them after a bath or shower while your skin is still wet helps seal in the moisture.
Ingredients:
Unrefined Coconut Oil is antibacterial and anti fungal yet is a great ingredient to replenish the hair and skin. It is high in antioxidants and known to help with scaring and stretch marks. Coconut oil is great for reducing redness and inflammation and it’s accelerated healing power if incredible. While I don’t really recommend it for use on the face, I love to use it on the body. It isn’t the most emollient oil but paired with a butter, it can be a powerhouse. Coconut oil also has a small molecular structure which means that it is able to penetrate deeply into the skin.
Raw Kokum Butter is high in vitamin E oil which is an antioxidant known to firm skin and kill age causing free radicals. Kokum butter helps restore elasticity, heal damaged skin and restore moisture. It is also known for cell regeneration. I love using it in other homemade beauty products like my Firming Eye Serum.
Beeswax is a natural humectant which means it attracts moisture to the skin. It moisturizing and helps protect the skin. It’s high in vitamin A which helps regenerate damaged skin cells. Beeswax also helps reduce redness and inflammation.
Related Posts: DIY Bath Melts

What You Need to Make DIY Lotion Bars:
Materials
- 1/2 cup beeswax
- 1/2 cup organic unrefined coconut oil
- 1/2 cup raw kokum butter
- 15-30 drops essential oil
Tools
- Silicone Molds
- Double Boiler or a medium sized pot and a glass pyrex measuring cup
- Stir stick
Instructions
- Fill a medium size pot half way full with water and place a glass pyrex measuring cup in the water.
- Add beeswax, coconut oil and kokum butter to the glass cup.
- Allow ingredients to thoroughly melt but never turn your stove top above medium heat.
- Remove the cup from the pot and add essential oils and vitamin E if you are adding them.
- Pour into your silicone molds and allow to completely cool and harden. You can pop them in the fridge to speed up the process. In fact, this can be helpful to avoid your lotion bar turning grainy over time.
- Once the lotion bars are completely solid, pop them out and store them in a jar in a cool place.
Notes
Shelf Life: 9 mos.-1 year
How to Use DIY Lotion Bars:
Because lotion bars are very hard, you must rely on the warmth of your skin to soften the bar just enough to rub directly on your skin. Remember, a small amount goes a long way! One little lotion bar can last quite a while.
I like to make small lotion bars and keep the one I’m using in a soap dish and use after the shower.
Different Options for Molds:
Silicone molds are the best for a project like this because they make it easy to pop out your lotion bars. Most soap molds are silicone and are easy to find on Amazon.
I found THESE gorgeous flower molds on Etsy.
I don’t really recommend using ice cube trays because it might be hard to pop them out.
You can also store lotion bars in a deodorant container for total convenience! I personally love putting it in “stick” form because it is so easy to use and your hands don’t get oily.
I used molds I bought years ago to make cake pops. They are no longer available.
Related Post: Fast Absorbing Body Butter

Ingredients Substitutes:
I chose coconut oil because I love it’s healing properties. Plus, coconut oil is solid at room temperature and will help your bars not melt in the warmer months or in a warmer climate. You don’t have to use coconut oil if you live in a colder climate or you intend to use them during the winter months. Coconut oil can feel greasy on the skin. If this bothers you, fractionated coconut oil would be a better choice. Grapeseed oil and jojoba oil are other oils that also feel lighter on the skin. Other natural oils that would be fantastic for your skin are sweet almond oil, avocado oil and olive oil.
I chose to use Kokum butter because it’s what I had on hand. I also like it because it is a super hard butter. However, you can use shea butter, cocoa butter or mango butter. Mango butter is a fast absorbing butter so it’s a really great option. It’s also high in essential fatty acids which help rejuvenate the skin. Keep in mind that shea butter is a softer butter.
Beeswax helps harden the bars even more than the butter does. It also creates a protective barrier over the skin sealing moisture in. If you’d like to make your DIY lotion bars vegan, you can also use carnauba wax. Substitute 1 cup of beeswax for 1 cup of carnauba wax.
Essential Oils are optional but can greatly enhance your lotion bar. A few of my favorite essential oils I like to use are sandalwood, geranium, ylang ylang and lavender essential oil. Essential oils are great to add because they have powerful anti-inflammatory properties.
Vitamin E is also optional but a great way to extend the shelf life of your lotion bar as well as add some anti aging power! If you decide to add it to this recipe, I would add 1 tablespoon.
Troubleshooting Lotion Bars:
The great thing about lotion bars is that if you don’t get the hardness right the first time, you can easily remelt and add more of an ingredient depending on which way you need to go. If your bars are too soft, add more beeswax. If your bars are too hard, add more oil. Using a harder butter like cocoa butter or kokum butter you might end up with too hard a bar by using equal amounts of oil, butter and wax so you might need to allow the batch to cool and check the consistency before you pour into molds. It’s hard to predict since many butter’s consistency varies from company to company.
If you find that your lotion bars are too greasy, you can remelt and add 1/2 a teaspoon of arrowroot powder, tapioca starch or cornstarch. Stir well to remove any clumps. You may also choose different ingredients before you start if you already know you want a lighter bar. Mango butter, fractionated coconut oil and beeswax is a lighter recipe than my ingredients listed above.
You can add color to your lotion bars by adding 1/2 a tsp. of clay. Pink kaolin clay or french green clay will give your lotion bars a subtle color! A pinch of turmeric powder will give a yellow color and a couple drops of sea buckthorn oil you will have an orange hue.
Add pain relieving essential oils like peppermint essential oil, eucalyptus essential oil or rosemary essential oil to use on sore feet or an aching back.
Related Post: DIY Firming Body Oil

Shelf Life of Lotion Bars:
The great news is that lotion bars have a shelf life of 9 mos. to 1 year! This is a great perk when making DIY skincare. You want your product to last a while so you don’t waste time or money. You’ll know when they go bad because they will have a rancid oil smell. As long as they smell good, you can use them.
Because they are oil based, no preservative is needed.
Lotion Bars Make Great Homemade Gifts!
Store them in a mason jar and tie a ribbon around the lid! These lotion bars are great for shower gifts, teachers, family and friends!
If you find that DIY lotion bars are a bit too moisturizing, I recommend you use them on your heels, knees and elbows.
Making your own lotion bars is a fun way to take charge of your body products. The recipe is quick and easy and a wonderful way to replenish your skin. After using a lotion bar, you will be shocked at how incredibly smooth and soft your skin will feel.
xx, Jenni
