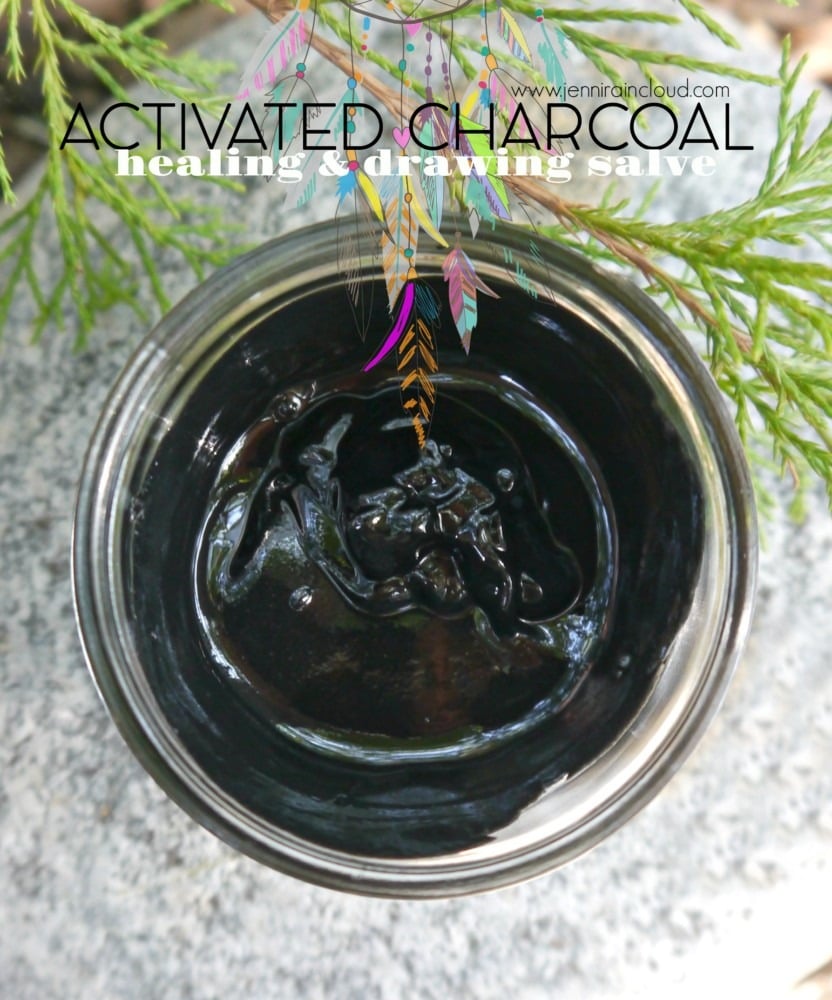
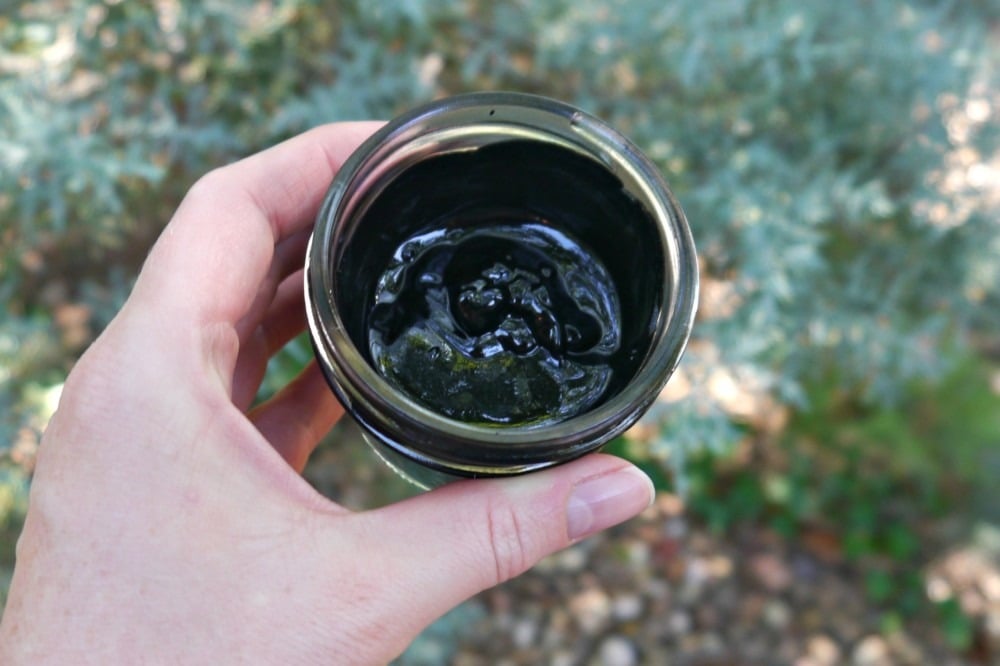
This homemade drawing salve recipe is perfect for insect bites and stings as well as removing a foreign object from the skin. Not only does it pull foreign substances out of the skin, it also is a powerful healing salve that will accelerate the healing process as well as support the skin and prevent scaring. Making your own drawing salve is easy and a must to have on hand especially during the summer months!
What is a Drawing Salve?
A traditional drawing salve is meant to heal the skin as well as pull out substances such as venom, infections and splinters. It has been an effective remedy for hundreds of years. It was traditionally called a “black salve” since the main active ingredient is activated charcoal. Clays are also added to encourage more pulling action. Turns out you can make your own diy drawing salve right in your kitchen and keep it on hand for wound healing emergencies. It is a staple in my natural first aid kit.
Activated Charcoal Benefits and Uses:
Lately I’ve been working with activated charcoal and loving it. This is an amazing detoxing tool for your health and we’ll explore that another day but today let’s talk about how activated charcoal can help your skin! Like with the body, activated charcoal works by pulling out toxins. Using it in a DIY activated charcoal healing salve can be so helpful if you’re suffering from bug bites, rashes or skin infections!
Activated charcoal is a super porous substance that is extremely effective in drawing out dirt, grime, bacteria and even poisons from the skin. Activated charcoal can be used for extracting splinters, venom, relieving itchiness, relieving stomach bugs, curing hangovers and it even whitens teeth! It actually has a magnetic charge that attracts impurities to it.
Activated charcoal is required by law to be part of the standard equipment on ambulances, in case of poisoning!
While there are many different ways to create skin care with activated charcoal, I decided to make a salve that will relieve bug bites, and can even be used as a spot treatment for blemishes! This ingredient can absorb 1,000 times it’s weight in harmful substances so you can see why it could be very helpful with extracting venom from mosquitos, spiders and snakes! Not only will it extract what the bug left, it will also help heal and reduce swelling and itching. This salve contains all natural ingredients and is super healthy for your skin!
Not only will this salve pull out impurities, it will also regenerate and heal the skin.
Feel free to use it on cuts and scrapes as well. I’ve even used this to extract a splinter. It takes about 2 days but it’s great when it’s too painful to remove.
Related Posts: Dirt Magnet Mask and Activated Charcoal Peel Off Face Mask
When to Use a Homemade Drawing Salve:
- Bee stings
- Spider bites
- Mosquito bites
- Splinters
- Boils
- Skin infections
- Tick Bites
- Pieces of glass
- Any foreign material stuck in the skin
- Ingrown hairs
- Ingrown toe nails
- Skin tags
More Homemade Drawing Salve Ingredients:
- Coconut Oil was chosen because of it’s incredible healing abilities as well as it’s powerful antibacterial properties. I don’t recommend replacing it but if you don’t have it, any carrier oil will do-sweet almond oil, olive oil and castor oil are decent replacements.
- Beeswax helps create a barrier over the skin and is vital to thicken up the salve.
- Bentonite clay is a powerrful detoxer and works along with the activated charcoal to extract impurities out of the skin.
- Lavender Essential Oil has powerful anti-inflammatory properties. It helps reduce pain, swelling and redness.
- Tea Tree Oil is probably the most powerful antibacterial essential oil. What is great about tea tree is that while it is very powerful, it is also extremely gentle.
- Roman Chamomile is known to heal and soothe.
Any clay for the skin will work. You could use bentonite clay, french green clay, or even kaolin clay.
As far as essential oils go, you could chose any you like. I chose these 3 for their healing and cleansing properties. Chamomile adds such a beautiful smell to the lavender and tea tree, plus it’s incredibly calming to the skin.
Related Post: Activated Charcoal Bar Soap
What You’ll Need to Make a DIY Drawing Salve:
Materials
- 1/2 cup coconut oil
- 1 TBSP. beeswax
- 15 caps of activated charcoal (3 tsp.)
- 3 tsp. bentonite clay
- 15 drops lavender essential oil
- 10 drops tea tree essential oil
- 5 drops chamomile essential oil
Tools
- 4 ounce glass jar or 2 oz. tins
- Medium sized pot
- Glass pyrex measuring cup
- Tbsp. & Tsp.
- Measuring cups
- Stir stick or spoon
Instructions
- A double boiler is needed in order to not overheat the delicate properties of coconut oil but if you do not have one you can fill a medium sized pot 1/2 way full with water. Place a glass pyrex measuring cup in the water and place on the stove top. If you don’t have a glass pyrex measuring cup, you can simply use a glass bowl or large mason jar. The pyrex cups are nice because they have a spout which makes it easier to pour.
- Turn the stove to low heat.
- Add coconut oil and beeswax to the pyrex measuring cup and allow to melt slowly.
- Remove from heat and add clay and activated charcoal. Hint: It took me a bit too long to pull apart 15 capsule of activated charcoal-by the time I got them added I needed to put my mixture back on the stove to melt it again. It would be an extra bowl to clean but it would be better to have your charcoal ready to go before you pull you mixture off the heat. Or, you can use loose activated charcoal.
- Once the glass cup is removed from the heat, add essential oils and stir.
- Pour into a container and allow to cool, periodically stirring so the activated charcoal and clay doesn’t sink to the bottom.
Notes
- I recommend you use a glass container like a small jar to store you salve. You could also use tins like THIS. Plastic is not a great idea because essential oils will degrade the plastic over time.
- Be careful because this salve might stain. I found it hard to get off my measuring spoons. While I didn’t get it on my clothing, my guess is that it would be an issue!
- The shelf life of this salve is around 6 months to 1 year.
To Use:
- Apply a thick layer of drawing salve to the affected area.
- Leave on as long as you can. If it’s not a blemish, I would put a band aid over the salve and leave on overnight. If it is a blemish, apply it and leave it exposed.
- Reapply as often as needed if extracting a splinter. My daughter had a deep one and it took 2 days and 2 applications covered with bandages.
You can leave one application on as long as 12 hours.
Using Infused Oil in a Homemade Drawing Salve:
I used plain coconut oil in my drawing salve but next time I’d like to use an calendula-infused oil for added healing power. I have an in-depth post on how to infuse herbs into oils and even a post specifically on how to make calendula oil. Herb-infused oil is a wonderful way to up the performance of your DIYs and it’s easy to do. It just takes a little extra time.
Using a Drawing Salve for Acne:
You could also use this salve as a facial mask and/or oil cleanser.
For a cleanser, apply a good amount to the skin and massage. Take care around the eyes since this salve is grainy and does contain essential oils that could irritate your skin. Remove with a hot wash cloth and repeat the process if needed.
For a mask, leave on for 10 minutes then remove with a hot wash cloth. Be sure to follow up with a good moisturizer since this salve will draw oils and moisture along with impurities out of the skin.
If you have dry skin, using this homemade salve might not be the best idea since it can dry the skin out. I don’t recommend using it as an oil cleanser or mask if your skin is dry and/or aging.
When using it on a blemish, use a pea-sized amount of the salve directly on the blemish. Allow to sit on the blemish as long as you can. Even 30 minutes could do the trick. Reapply until the blemish has come to a head. If the blemish is not quite ready to come to a head, you can use a hot compress first. Heat will encourage the infection to come to the surface.
I’m really excited to delve deeper into activated charcoal. This time, I focused most of my research on using it topically so the little I did see about ingesting it sounded amazing. I’m dumbfounded that activated charcoal can absorb 1,000x it’s weight and that it absorbs metals like mercury.
This natural remedy DIY is a must for any natural medicine cabinet. It’s easy to make and comes through in a pinch for so many different skin issues.
xx, Jenni


