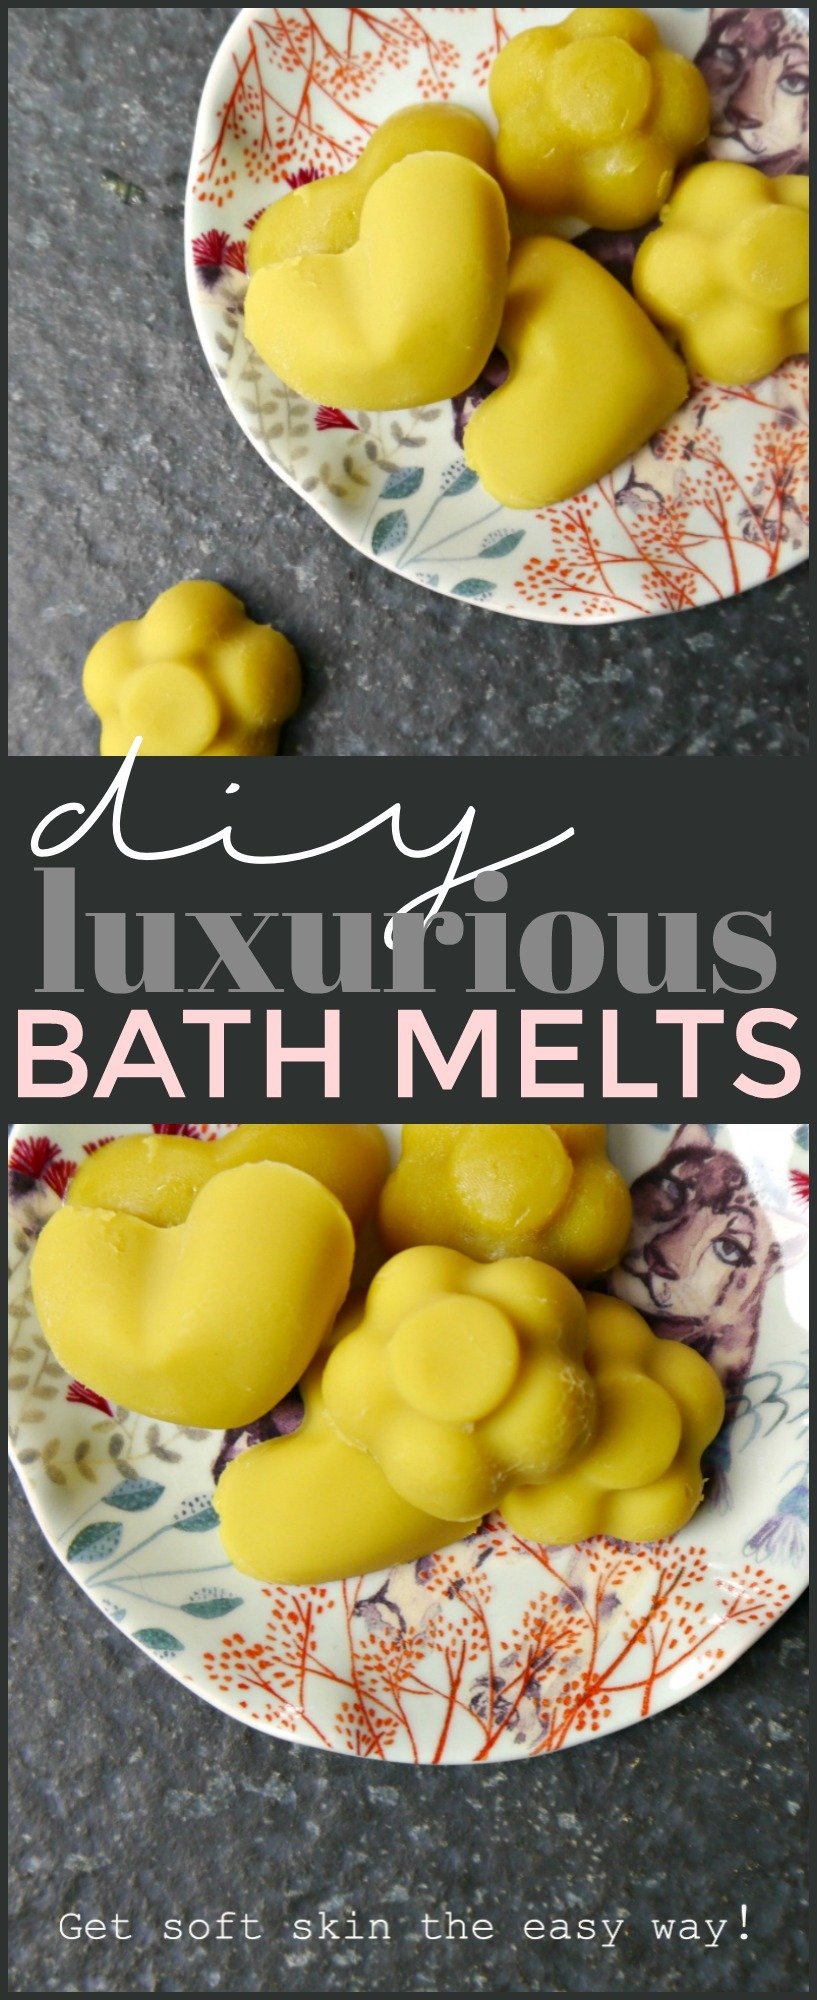
DIY bath melts are a luxurious way to relieve and revive dry skin. There’s nothing like a nice relaxing bath after a long day. Add a bath melt for relaxing aromatherapy benefits as well as replenishing skin benefits! Making bath melts is one of the easiest diy bath products you’ll ever make plus they make a great gift! Read on to learn how you can make DIY bath melts and customize them to exactly what appeals to your individual senses!
Today I thought I’d share my simple DIY bath melt recipe. It only contains natural ingredients to replenish and rejuvenate the skin. I’ll give you lots of customizable options so you can decide exactly what you would like to add to your bath melts, if anything! This basic recipe is great as is!
What are Bath Melts?
Homemade bath melts are small quarter sized nuggets of body butters. You can add herbs, pure essential oil, clays or epsom salt but they are not necessary to reap the skin benefits.
The main ingredient in bath melts are butters like cocoa butter, shea butter, mango butter etc.
You use them by tossing one in hot water and enjoying how simply the butters coat your skin and the herbs and oils awaken your senses. After taking a bath with a bath melt, your skin will be baby smooth. Using a diy bath melt is certainly a simple way to thoroughly moisturize every inch of your body.
Bath melts are easy to make and have a great shelf life.
Benefits of Using Body Butters on the Skin:
Body butters are extremely nourishing for the skin and are full of essential fatty acids which help the skin stay hydrated and supple. Because butters are so high in fatty acids, they can improve the skin’s elasticity and reduce the appearance of stretch marks, scars and wrinkles.
Butters have been found to help improve skin conditions like eczema and psoriasis.
Butters contain antioxidants which also help with reducing fine lines and wrinkles. Not to mention how they support the skin, helping the skin age more gracefully.
Related Post: DIY Bath Bombs

What You’ll Need to Make DIY Bath Melt:
Materials
- 1/4 cup Shea Butter
- 1/4 cup Cocoa Butter
- 30 drops Essential Oils
- Dried Herbs *optional*
- Clay *optional*
- Epsom Salt *optional*
Instructions
- Create a double boiler by filling a medium sized pot 1/2 way full with water.
- Place a glass pyrex bowl with a spout in the pot.
- Add the butters and melt on medium to low heat. If you are adding salt or clay, you can add them with your butters. Be sure to mix them in well.
- Remove from heat.
- Add essential oils, herbs,vitamin E etc. to the melted butter if you are using them.
- Pour mixture into molds.
- Allow to cool. You can speed up this process by popping them in the fridge!
- Pop out of molds and store in an airtight container!
Notes
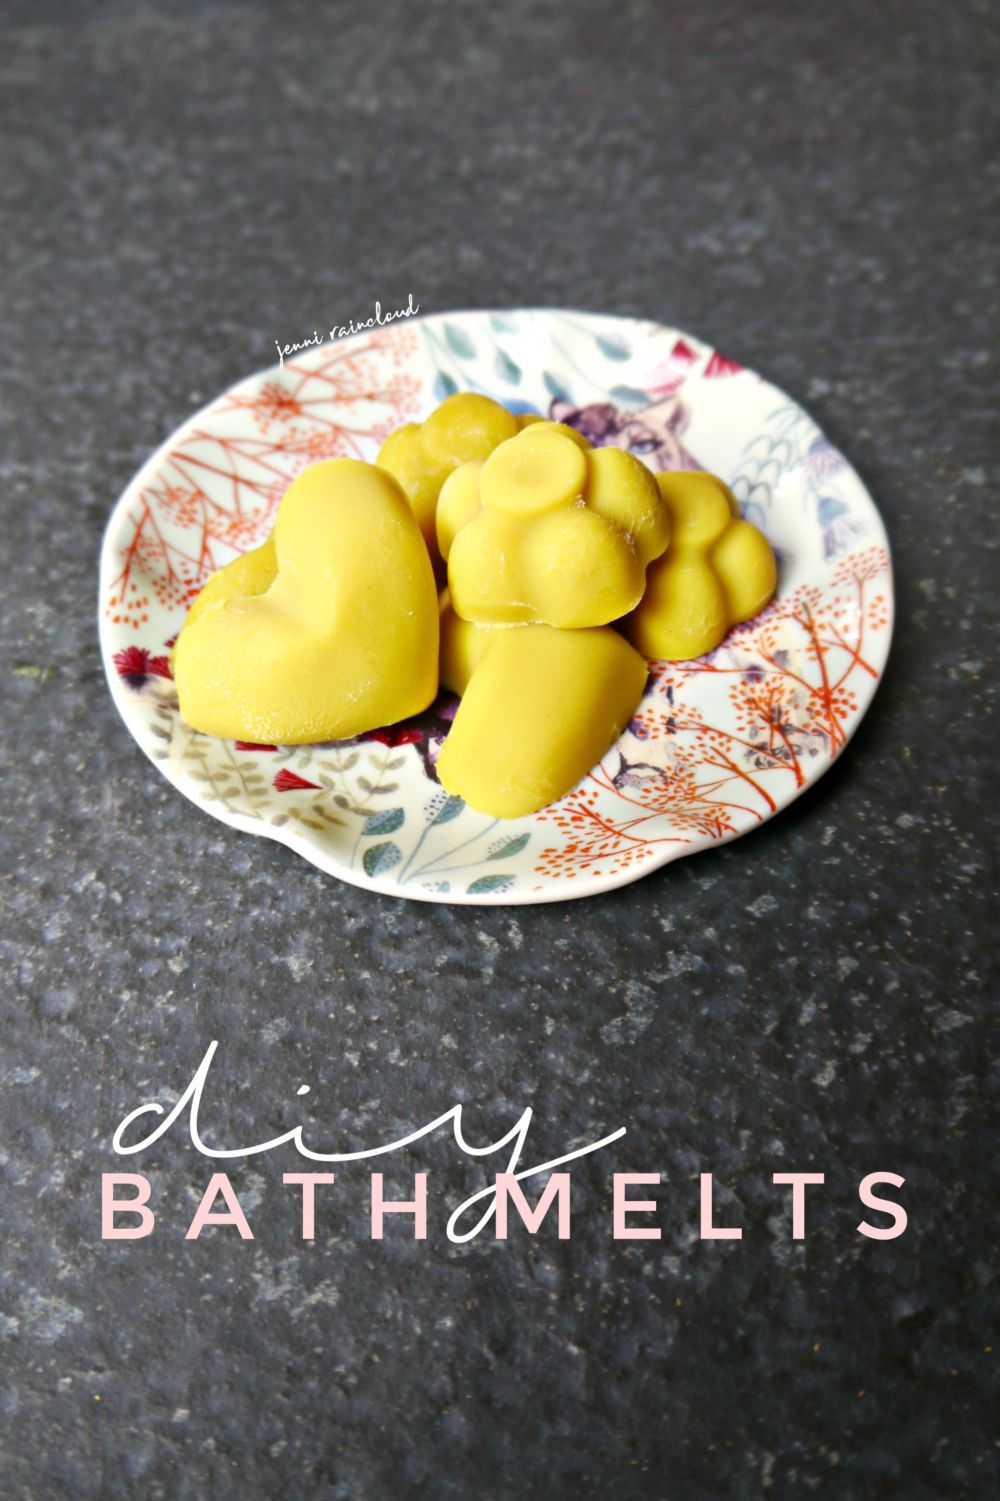
- My recipe made about 8 melts, my molds are smaller than ice cube trays so you be the judge on how much you want to make.
- Regular sized ice trays are the perfect proportion for bath melts however, since they are typically not made of silicone, it might be hard to remove them.
Mold Options:
You can simply use ice cube trays if you prefer but I haven’t tried it and I’m worried that unless your ice trays are flexible, it may be hard to remove the bath melts. My silicone ice tray molds are from Ikea but they did not carry them anymore. However, I did find the exact flower mold HERE.
Check out THESE and THESE from Amazon.
How to Store DIY Bath Melts:
If you live in a warm climate, I recommend storing your bath melts in the fridge. I store mine in the fridge in the summer but during the winter months I keep mine in a jar in my bathroom cabinet. You could keep them by the tub but they will last a bit longer if you keep them away from light. Plus, they may melt just from the heat from the tub.
DIY Bath Melts Substitutions & Ideas:
Any butter will work for bath melts but the only rule is that shea butter is a soft butter so only use 1/4 cup or less of it. It must be balanced with harder butters like cocoa, kokum or mango. One interesting fact you might keep in mind is that mango butter absorbs very quickly which is really a nice feature when you’re dealing with butters since they tend to sit on top of the skin for a while before soaking in. In fact, you might be interested in my Fast Absorbing Body Butter recipe!
Adding a carrier oil like jojoba oil, sweet almond oil or olive oil is not recommended because it will cause your bath melts to melt before they hit the bath water or not solidify at all. However, you could add no more than 2 tbsp. of unrefined coconut oil to your formulations since coconut oil is solid at room temperature.
Adding dried herbs to your bath melts not only is a great way to add aroma and skin benefits, herbs also add visual interest. You should be aware that whatever is in a bath melt will have to go down the bath tub drain. If you’d like to add the benefits of herbs without the mess, you can also grind your herbs into a powder and add them to the butters. This will also add color. Do not add fresh herbs to your bath melts. This could cause a bacteria issue and your herbs will turn brown after a few days. Lavender buds, calendula flowers, chamomile flowers and rose petals are my favorites to add.
Vitamin E is a great additive and not only helps with anti aging and nourishment, it also helps with the shelf life of your bath melt.
Essential oils are the easiest way to add in fragrance. You can add 1 essential oil or create your own essential oil blend. One of my favorite scents is lavender essential oil. I love adding citrus oils with lavender. Sweet orange essential oil with lavender oil is heavenly. Lemon essential oil is also a great pairing as well However, for me the perfect combination is lavender and bergamot. Many other essential oils work well with lavender as well. Geranium is a powerhouse of an essential oil and smells lovely with lavender as does rose. You can save a lot of money and use Rose Absolute instead of pure rose essential oil.
Clays are meant to color your bath melt and are totally optional. I do love to keep rose clay on hand and use it in one of my favorite cleansing oils recipe-Pink Rose Cleansing Balm as well as a multipurpose DIY that acts as a cleanser and mask. Rose clay is very gentle and great for detoxing. French green clay is also a great additive and one of my favorite DIY masks.
How to Add In Clays, Salts & Herbs:
I recommend using my recipe for the base of your bath melts. Melt the butters, remove from the heat and add the essential oils and pour into the silicone molds. While the melts are still liquid, add in small amount of clays, salts and herbs to each melt.
Often times the dried herbs (unless they are large like calendula flowers) will sink to the bottom. You might want to wait until your bath melts start to firm up and then add the herbs so they will be more suspended and visible. All though, if you aren’t worried about how your melts look, this is not necessary.
Because the melts are so small, adding clay won’t have many benefits. Really, the clay is great for creating different colored bath melts. It only takes a tiny amount to get a lot of color. Add rose clay, french green clay and kaolin clay by the pinch.
Pro Tip: While you can add a pinch of salt into each mold, I recommend adding a cup of salt to your bath separate of the actual bath melt. There are so many benefits of an epsom salt bath, why not combine a salt bath with a bath melt for the ultimate self care?!
Where to Find Natural Ingredients:
In order to ensure a quality bath melt, I recommend getting your herbs at Mountain Rose Herbs. They have very high quality and ethically sourced ingredients. They also have a large selection of butters and essential oils. I also like to get my essential oils at Plant Therapy where the shipping is free and faster than MRH. They also have shea, cocoa and mango butters.
Don’t forget, bath melts make great gifts!! Use a mason jar to put your homemade bath balms in, secure the lid and tie a ribbon around the lid! You could even print out the ingredients and directions and attach those as well. What’s nice is that you can make quite a few at one time by doubling or tripling this recipe! Could be great teacher appreciaton gifts!
DIY bath melts make for quite the luxurious bath and are one of my favorite beauty recipes! These little DIY bath melts are so easy to make so let’s do it and upgrade your bathing experience naturally!
xx, Jenni